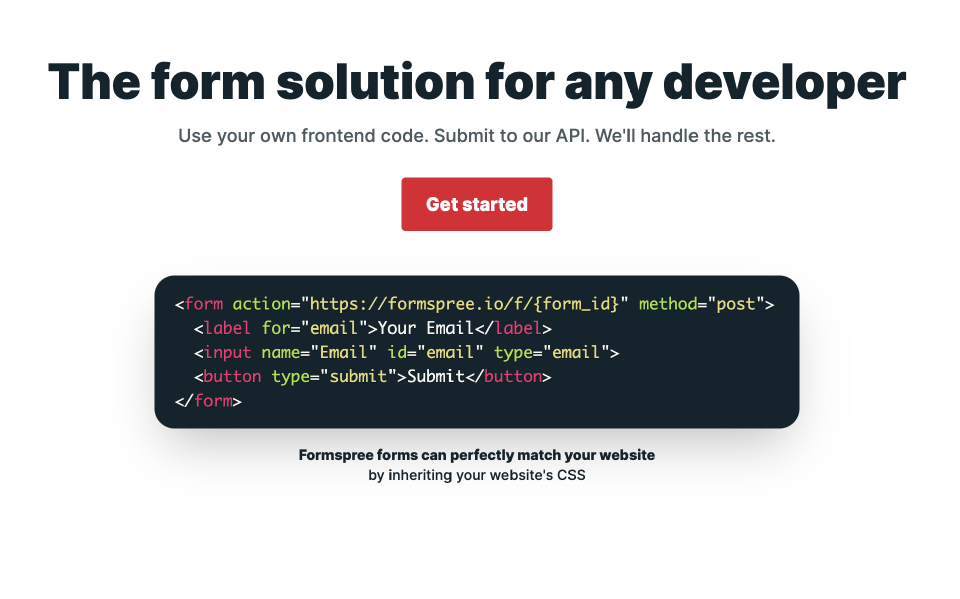
Laravel实战系列——搭建 Formspree 多用户邮件系统(二)
内容
前言
在上一章,我们新建了一个项目,并初步实现了登陆功能,成功迈出登月第一步。
Laravel实战系列——搭建 Formspree 多用户邮件系统(一)
在这一章,按照王爸爸的说法,先定一个小目标——我们将要实现简单的邮件发送功能及接口
“想做世界首富,这个奋斗的方向是对的,但是最好先定一个能达到的小目标,比如我先挣它1个亿。"
— 王健林
正文
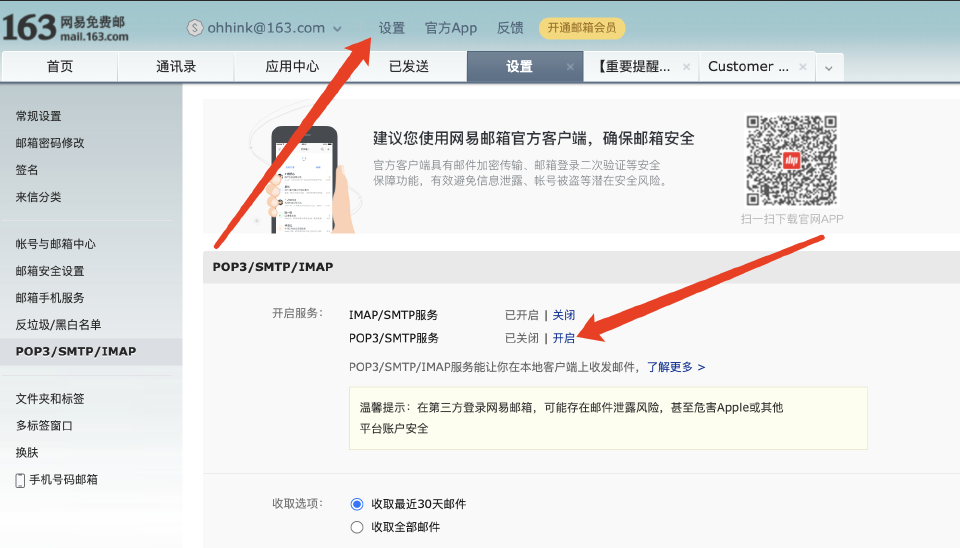
创建一个邮箱并开启SMTP
此处,我选择了 163网易 邮箱,注册好之后,记得开启 SMTP服务 。
给项目配置邮件参数
配置 /.env
20
21
22
23
24
25
26
27
|
MAIL_MAILER=smtp
MAIL_HOST=smtp.163.com
MAIL_PORT=465
MAIL_USERNAME=xx@163.com  # 你创建的邮箱
MAIL_PASSWORD=RIPDZIZIQRMHZVAO # 开启 SMTP 后生成的密钥
MAIL_ENCRYPTION=ssl
MAIL_FROM_ADDRESS=xx@163.com # 你创建的邮箱
MAIL_FROM_NAME="${APP_NAME}"
|
创建邮件发送类
都2021年了,我们还是使用Markdown作为模版吧
php artisan make:mail CustomerMail --markdown=emails.customer
修改 /app/Mail/CustomerMail.php
20
21
22
23
24
25
26
27
28
29
30
31
32
33
34
35
36
37
38
39
40
41
42
43
44
|
protected $msg;

/**
 * CustomerMail constructor.
 * @param string $msg
 */
public function __construct(string $msg)
{
    $this->msg = $msg;
}

/**
 * Build the message.
 *
 * @return $this
 */
public function build()
{
    return $this
        ->markdown('emails.customer')
        ->with([
            'url' => "https://ouhaohan8023.github.io",
            'msg' => $this->msg,
        ]);
}
|
创建邮件发送控制器
php artisan make:controller CustomerMailController
修改 app/Http/Controllers/CustomerMailController.php 控制器
20
21
22
23
24
25
26
27
28
|
class CustomerMailController extends Controller
{
    public function test()
    {
        $email = "xx@foxmail.com"; // 接收邮件的地址
        $msg = "你好鸭!";
        Mail::to($email)->send(new CustomerMail($msg));
    }
}
|
创建邮件发送路由
修改 /routes/api.php
20
|
Route::get("/test", [CustomerMailController::class, 'test'])->name("test");
|
访问路由并查看邮箱
浏览器访问地址
http://api.formspree.test/api/test
登陆邮箱 xx@foxmail.com 查看来自于 xx@163.com 的邮件
至此,邮件发送功能初步成功
总结
上面我们通过 Laravel 简单的实现了邮件发送功能
- 使用 Laravel Mail 邮件
下一步我们要实现一个闭环
- 用户注册,生成唯一的表单提交地址
- 通过form表单提交内容
- 接收到内容,识别用户
- 给用户发送通知邮件